How To Post Pictures
Hello Everyone,
I hope you are happy, healthy, and productive. The site is slowly taking form. It’s nice to see. Gabriela, Jiyeoun, Justine, Mark, Peter, and Linda have all joined. Jason, Mark’s brother, just sent me an e-mail saying he wanted to participate. So he should join any day now. And, most importantly, Mark Peter, and Gabriela have posted even. It’s a good start.
I have a feeling that some of the technical aspects of the site — posting in general and posting pictures in specific — are discouraging people from participating. I know Justine was hours away from put up a photo essay of her recent trip to Peru, but then didn’t/couldn’t do it. So, I’m going to quickly outline how to post pictures to the site below. Hopefully this will clarify some of the questions you might have. If you’re looking for answers to other questions click here. One of the drawbacks of Blogger.com, the service we’re using, is that posting pictures is involved. One of the benefits, is that its online help section is thorough and concise.
Downloading Hello:
1.You need a special program. It’s called Hello. You can download it here. It is free, doesn’t contain ad-ware, and they wont send you spam when you register your e-mail address.
2.Click on the “Download” link on the left hand side of the screen.
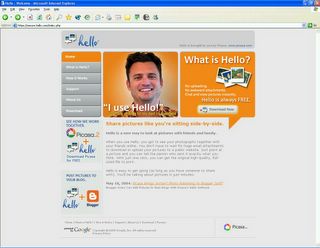
3.The link will take you to this page. Create a username and password and enter your e-mail address. Then hit the submit button.
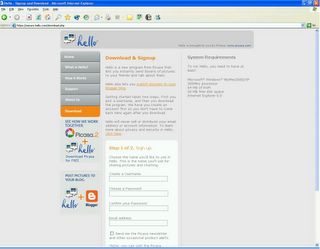
4.The page below will appear.
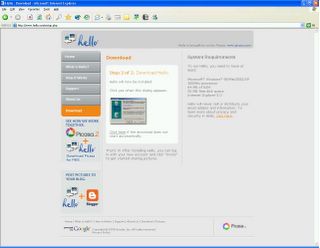
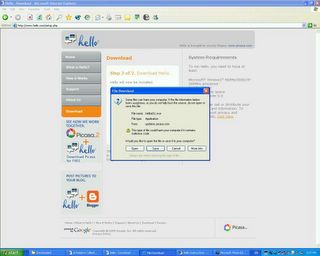
5. Then a download dialogue box will appear. Press the “Open” button. The program will download and run automatically. Follow the directions that appear online.
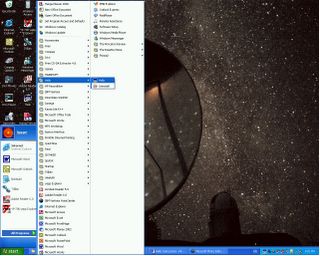
6.The program should open automatically after installing. But, if it does not go to Start > All Programs > Hello > Hello to open the program.
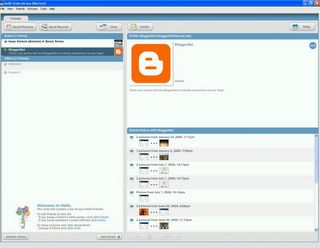
7.When the program opens, you should see a tab on the left hand side of the screen that says “BloggerBot”. Hit this tab. You may be asked to enter your blogger ID and password.
Sending Pictures:
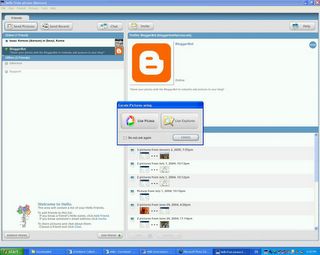
1.To start sending pictures hit the “Send Pictures” button at the top left side of the screen. A “Locate pictures using…” dialogue box will appear. Press the “Use explorer button.”
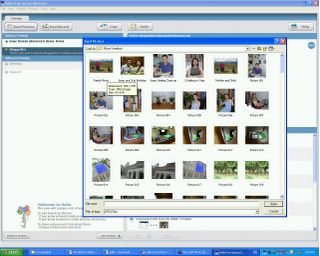
2.Another dialogue box titled, “Send Picture” will open. Locate the picture or pictures you would like to send. Select them and press the “Open” button at the bottom right hand side of the box. (You can open more than one picture at once.)
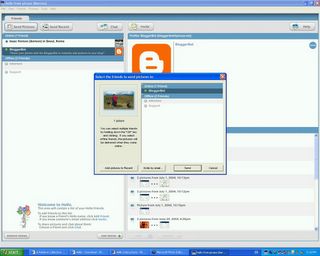
3.Another dialogue box titled, “Select the friends to send pictures to” will open. The “BloggerBot” tab should already be highlighted. Hit the “Send” button at the lower right hand corner of the dialogue box.
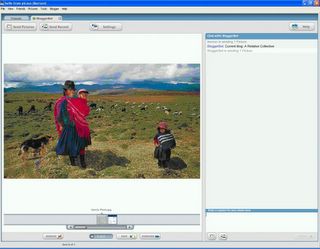
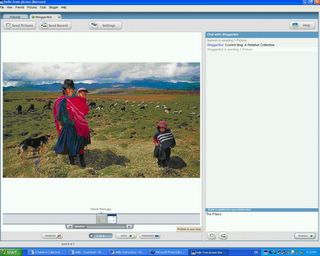
4.Another screen will open. The picture you selected will be at the left side. A message box will be at the left. At the bottom of the message box will be a smaller box with the title, “Enter a caption for your photo here.” Enter a caption for your photo and press the “Publish” button at the lower right hand corner.
5.A message, “Uploading image (this may take a few minutes”, will appear. When the image is uploaded the relative collective site, with the image you just uploaded will appear in a separate window. And, you’re done!
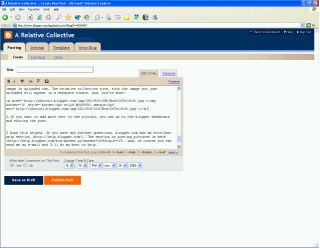
6.If you want to add more text to the picture, you can go to the blogger dashboard and editing the post.
I hope this helped. If you have any further questions, blogger.com has an excellent help section. The section on posting pictures is here. And, of course you can send me an e-mail and I’ll do my best to help.
I hope this encourages more people to post. I’m really looking forward to Justine’s Peru pictures!
Best, Isaac.
